Start Exploring Keyword Ideas
Use Serpstat to find the best keywords for your website
How to install a comments widget on the website
How to add comments to your site
By integrating a widget, you bring discussions directly to your site. As a rule, widgets use social networks and public accounts for registration (Facebook, VK, Google+, Disqus, and other). Thus, a user who has an account in one of the systems can quickly share comments at any site that has its widget.
Within SEO-promotion comments have supplementary value, while widgets increase usability that improves behaviour factors impressively. These factors in their turn directly influence your website's ranking.
There is a variety of widgets found on the Internet. We are going to review the most frequent ones:
- Disqus;
- Cackle;
- Facebook.
Want more than just a comment section? Explore other types of website widgets tailored for different user goals from collecting leads to promoting offers and boosting engagement.
Disqus widget
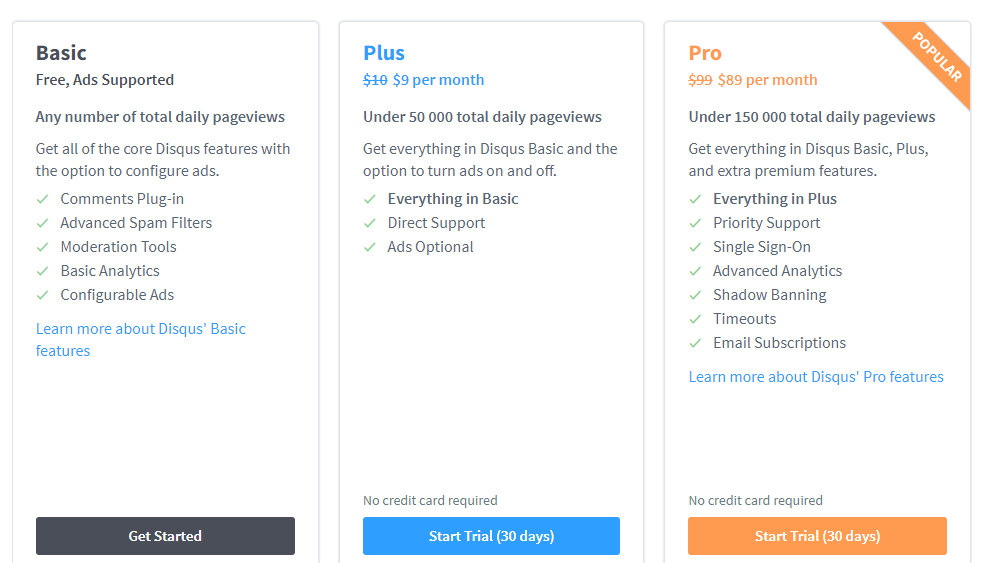
- Data storage outside the website (which can actually be a disadvantage for some site owners). It lets avoid overloads, website security warnings, spam and other issues;
- This widget can be applied to almost any blog and traditional web source;
- Disqus flexibility of the customization and simple integration;
- Automatic spam security and moderation;
- Adaptivity to any device;
- Adaptivity to website's design;
- Use of multimedia files.
Widget installation guide
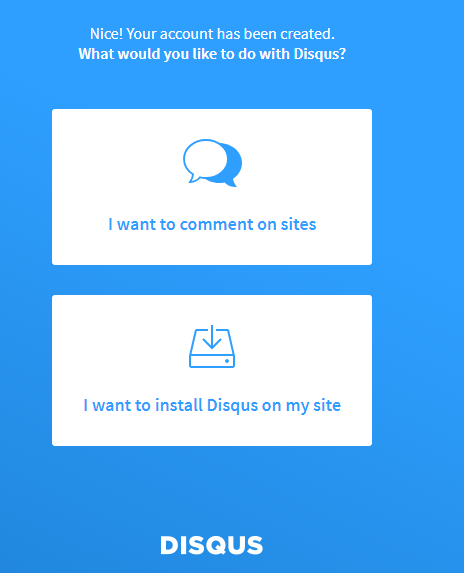
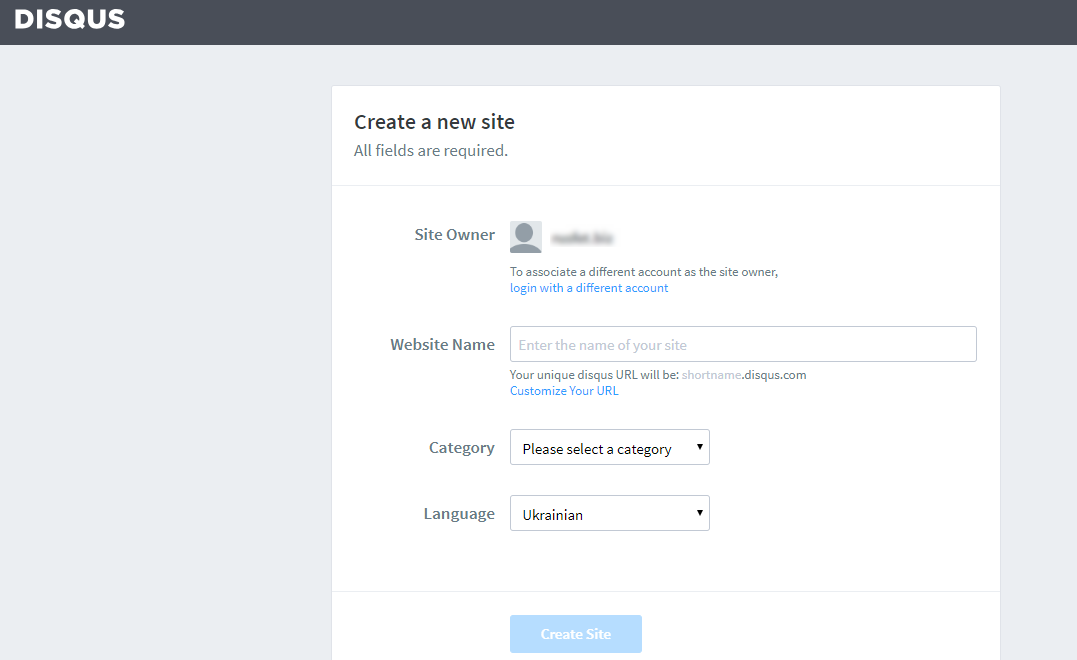
- Use plugins and ready-made modules for smartphones that use CMS platforms;
- Disqus generates a code that should be pasted right where you want to set the widget on your site.
Here is a list of CMS allowing widget integration with the help of plugins and modules:
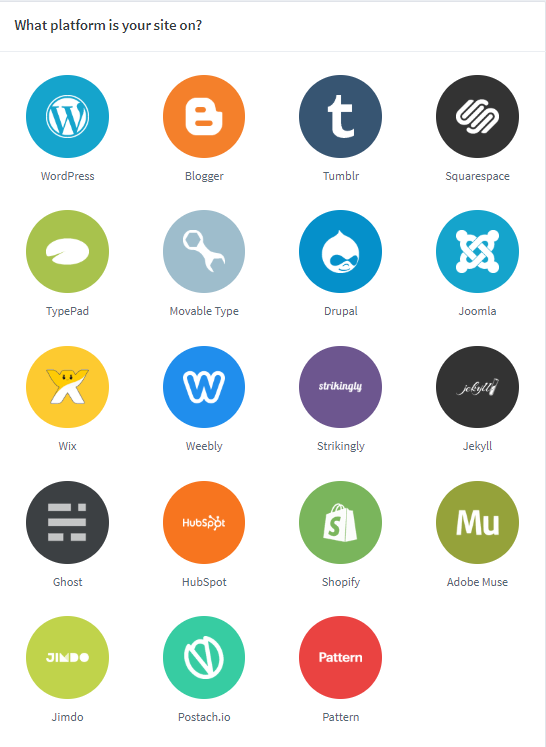
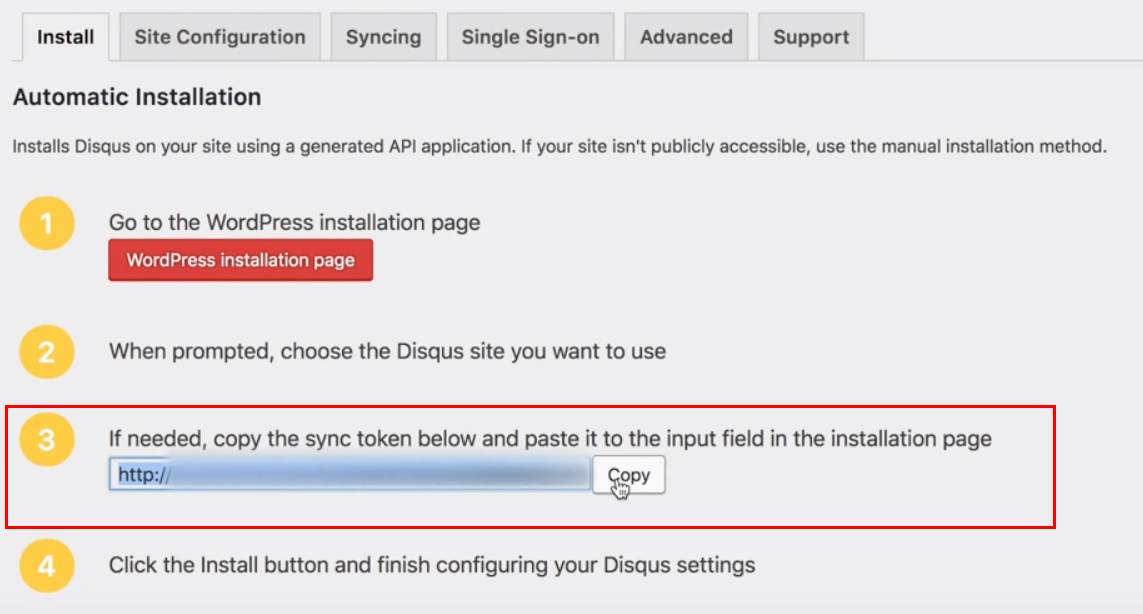
Disqus widget can be installed in WordPress and other platforms using modules and plugins. Below you'll find a brief guidance note of widget installation to WordPress.
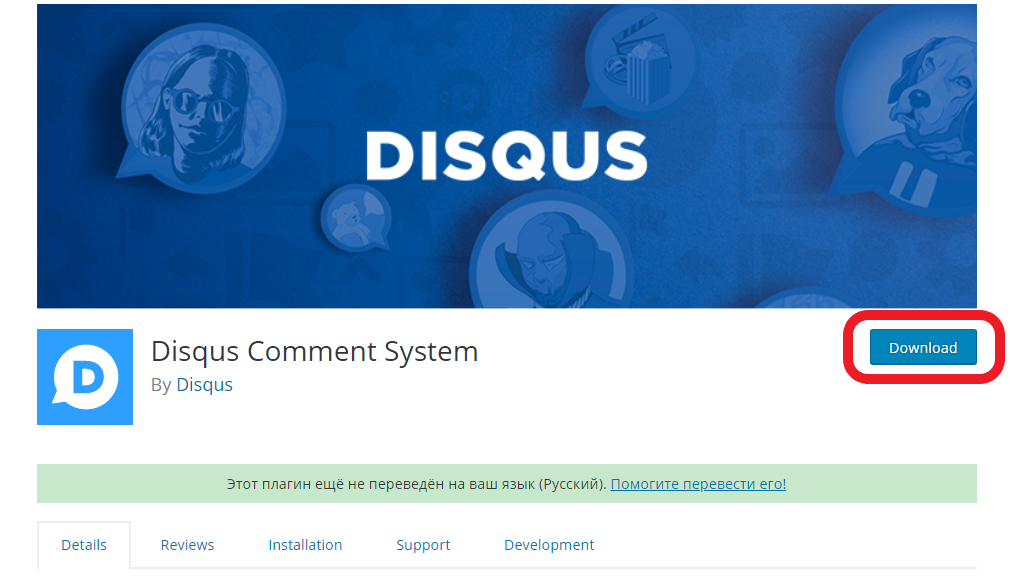
Download and install Disqus Comment System plugin using the link or administration panel:
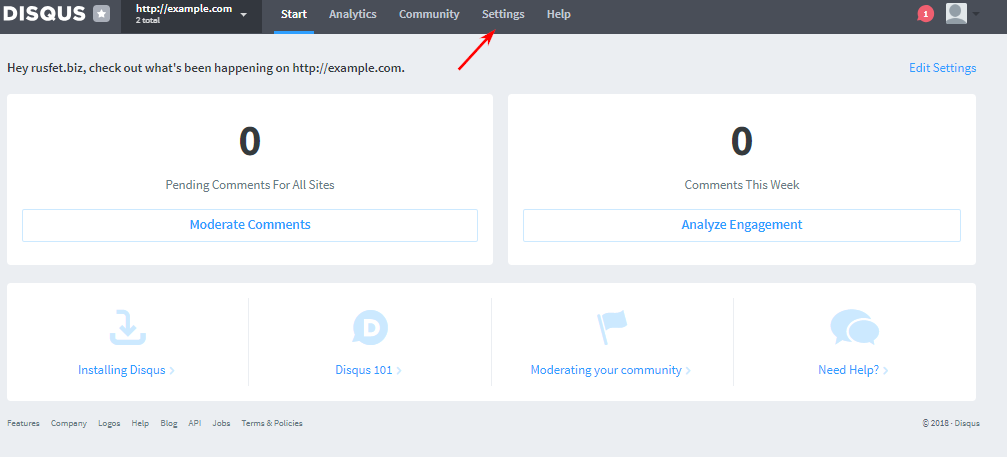
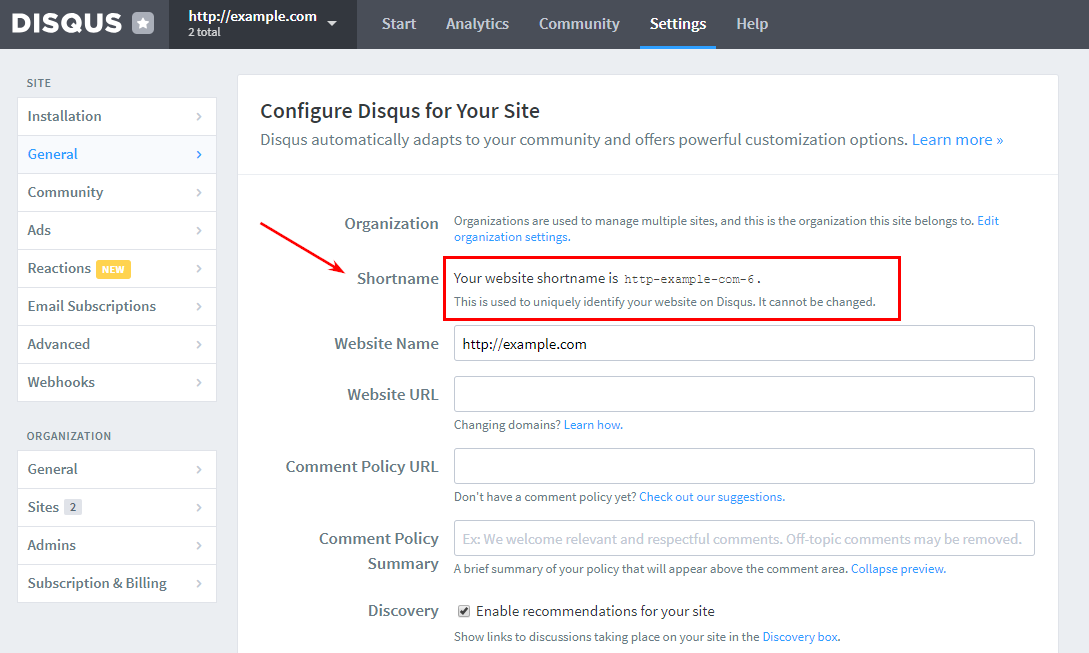
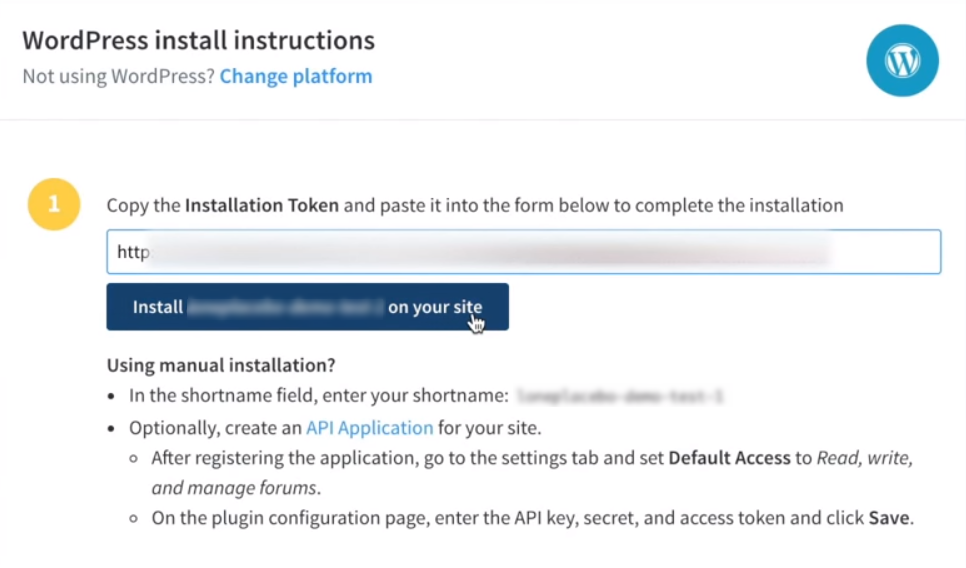
To learn the Shortname you go back to the account page and enter the administrator setup menu (press "Settings" button):

Cackle widget
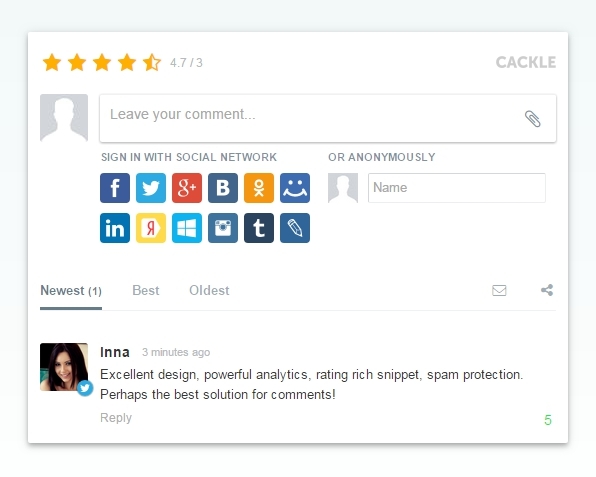
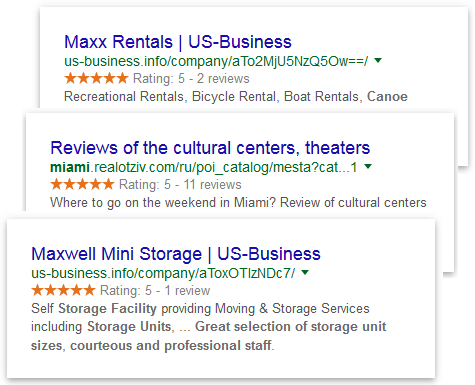
- Micro schema markup applied to ratings and Schema.org comments;
- Adaptivity to any devices and screens;
- Crossposting to users' social network pages;
- Analyzing comments and likes;
- Adding Ratings, votings, downloading mediafiles.
The list of platforms that can be used for authorization:
- Facebook;
- Twitter;
- Google+;
- Tumblr;
- Live;
- LinkedIn;
- Instagram;
- Soundcloud;
- Foursquare;
- Yammer;
- 500px;
- Stackoverflow;
- Dropbox;
- Yahoo;
- Livejournal;
- Wordpress;
- Cackle.
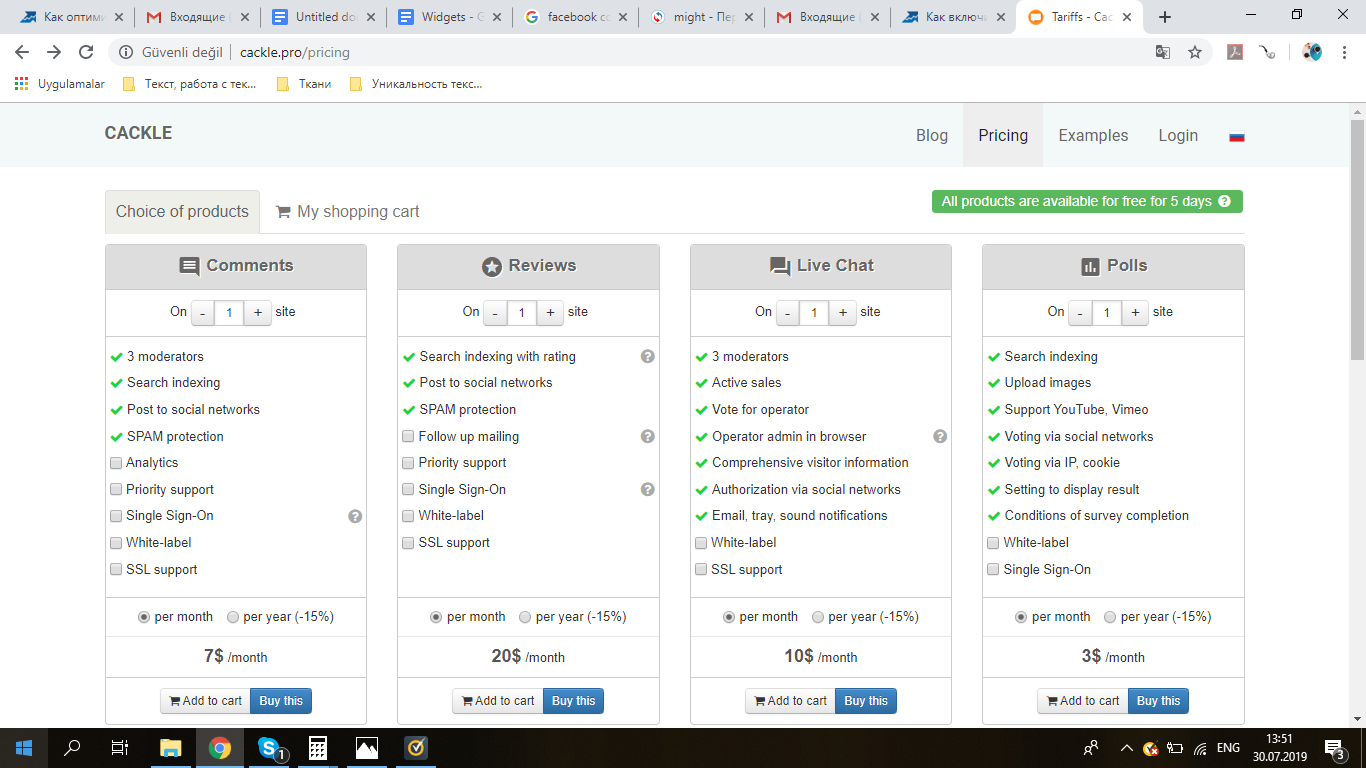
The service is paid and might be disadvantageous applied to small blogs. Besides, it lets commenting only for public network account owners, while this option is a limited one to those who prefer to stay away from social media. Thus, they can only comment anonymously if there is such an option; or this category of users manage to pass the registration procedure on Cackle itself, which hardly anyone knows. No free version is available, but you are able to try a trial version of any product for a period of five days.
Cackle website installation procedure
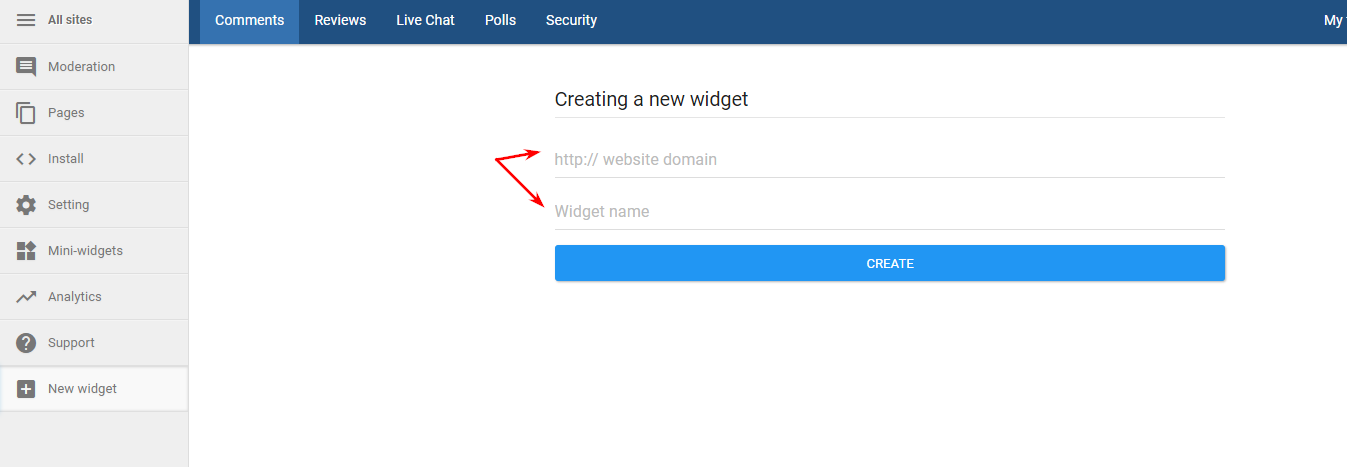
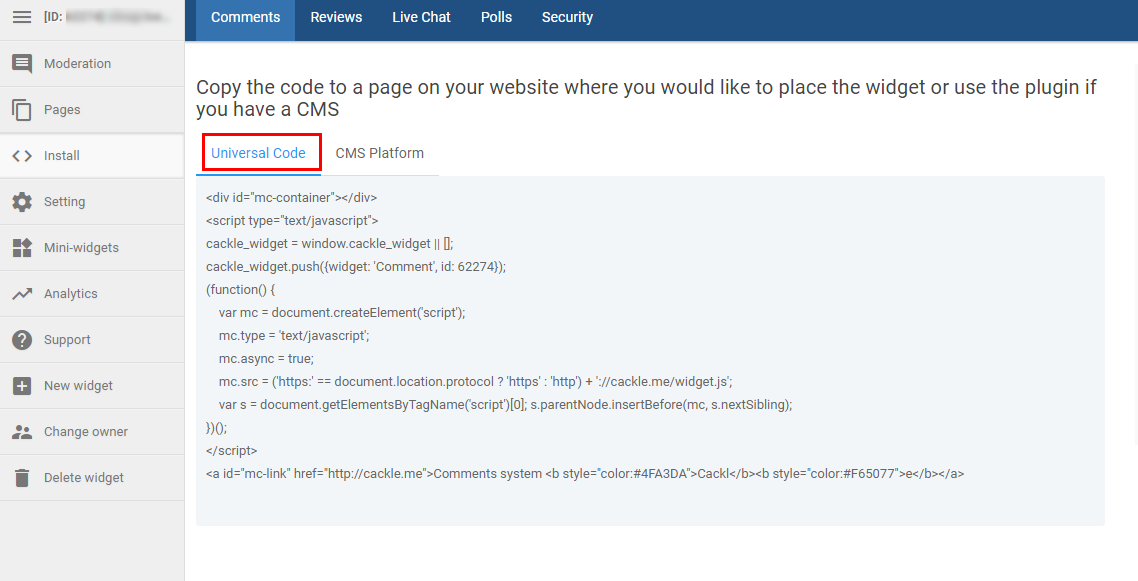
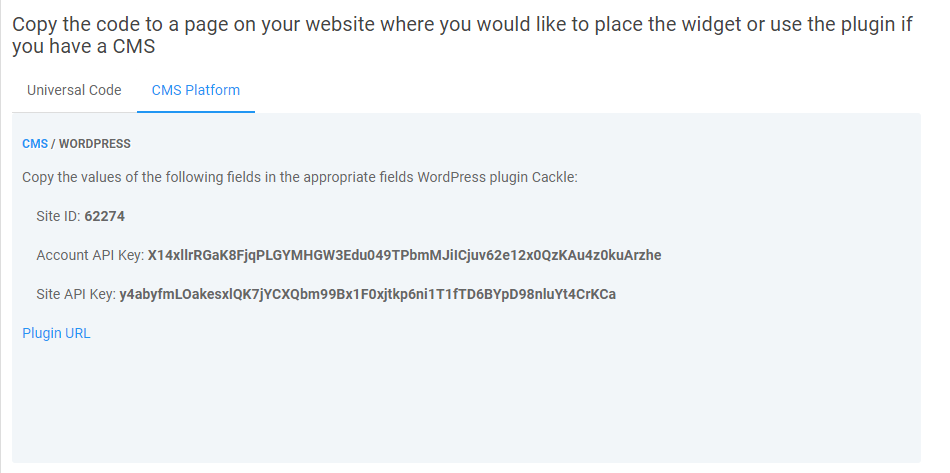
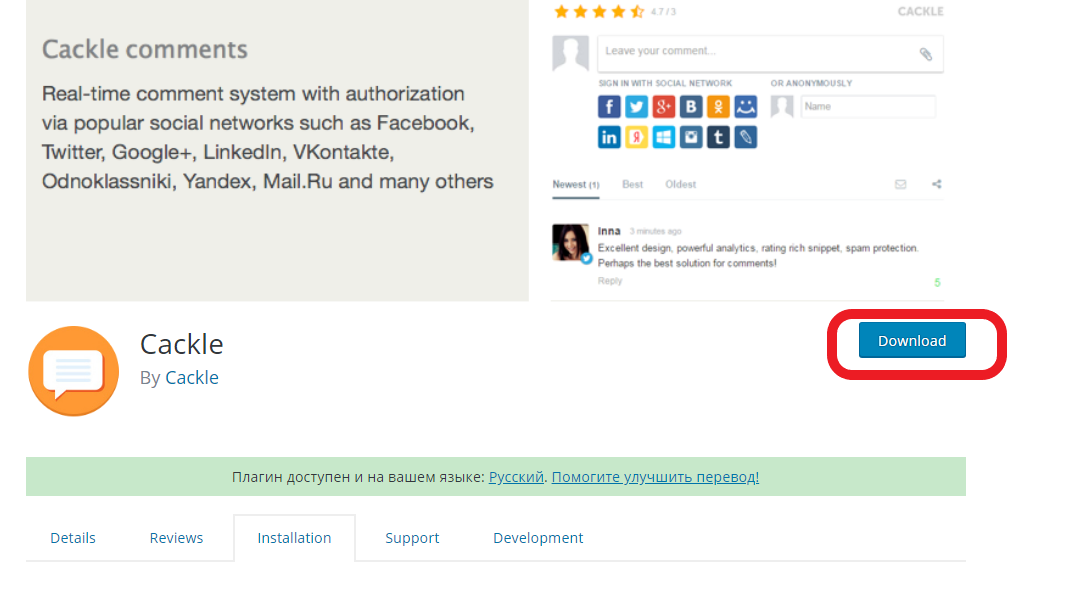
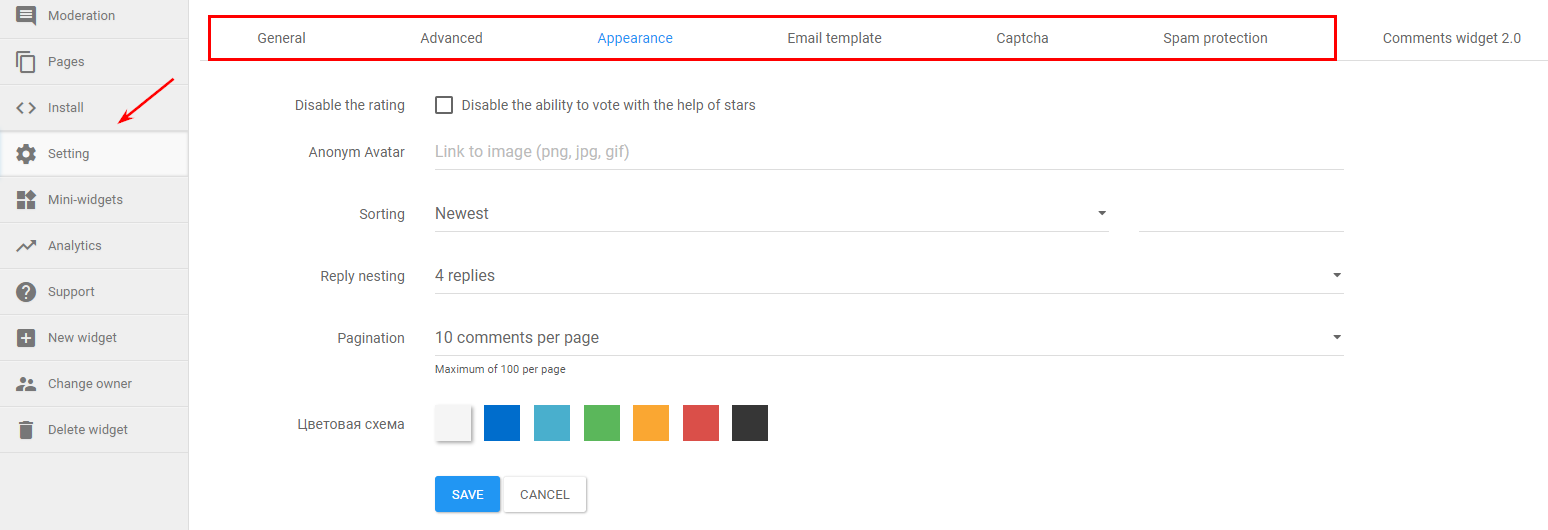
As soon as you finish the activation, the plugin will appear on your site. Manage colour schemes, pagination and design attributes in account settings.
Facebook widget
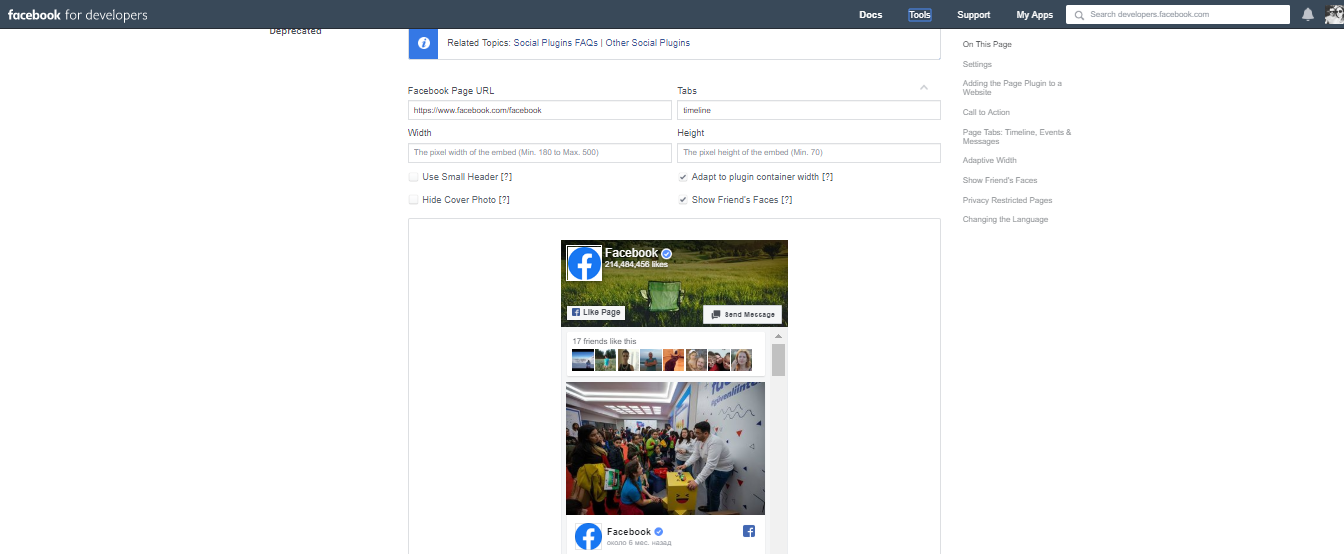
Facebook comments plugin is available on Facebook for the developers web page. To add the widget you simply need to paste the generated code into your site.
Conclusion
Widgets make it easier to get users authorized with their own social networks accounts. No need for visitors to go through long registrations and filling in forms.
These advantages altogether have a highly positive influence on the site's usability and behavior factors that significantly impact SEO-promotion.
This article is a part of Serpstat's Checklist tool
 " title = "How to install a comments widget on the website 16261788318864" />
 | Try Checklist now |
Speed up your search marketing growth with Serpstat!
Keyword and backlink opportunities, competitors' online strategy, daily rankings and SEO-related issues.
A pack of tools for reducing your time on SEO tasks.
Discover More SEO Tools
Tools for Keywords
Keywords Research Tools – uncover untapped potential in your niche
Serpstat Features
SERP SEO Tool – the ultimate solution for website optimization
Keyword Difficulty Tool
Stay ahead of the competition and dominate your niche with our keywords difficulty tool
Check Page for SEO
On-page SEO checker – identify technical issues, optimize and drive more traffic to your website
Recommended posts
Cases, life hacks, researches, and useful articles
Don’t you have time to follow the news? No worries! Our editor will choose articles that will definitely help you with your work. Join our cozy community :)
By clicking the button, you agree to our privacy policy.
