Start Exploring Keyword Ideas
Use Serpstat to find the best keywords for your website
How to Get Started with Your Google Analytics 4 (GA4) Transition

So, now that it has officially launched its updated analytics tool, it’s time for you to get started with the big switch. Here’s why we think you should transition from Google Analytics 3 (GA3) to GA4, as well as the steps you need to take to make this happen.
What is the major difference between GA3 and GA4?
What are the benefits of using Google Analytics 4?
- See more of the user journey
- ‘View user’ snapshot feature
- Lifecycle reporting
- Better privacy and tracking features
- New goals and events set up
Starting the switch to Google Analytics 4
Embrace the move to GA4
What is Google Analytics 4?
GA4 has been launched to accommodate changes in consumer behavior and online privacy policies. GA3, also known as Universal Analytics, wasn’t offering a complete view of the customer journey, which is often cross-platform. They may start shopping on their mobile and switch to a laptop once they’re home to make it easier to compress PDF online if that’s a service you offer. GA4 can capture more of this journey.
What is the major difference between GA3 and GA4?
Reporting interface
When you log into GA4, you may notice fewer reports than with GA3. This is because GA4 reports are generated once you start tracking events - these do require some manual setup.

Sessions
With GA4, sessions aren’t limited by time. It won’t create new changes if a user changes mid-session from laptop to mobile, for instance. This means your session count will be lower and more accurate. The average session time will also change. Average pages per session are no longer included.
Data retention
In the previous version, you were able to select how long you wished to retain the data for, with the longest being ‘do not automatically expire’, essentially meaning you have access to that data forever.
With GA4, this has been limited to two options, two months and 14 months. You will still be able to view a year-on-year comparison with a managed file transfer, but accessing the historical data yourself will not be possible.
What are the benefits of using Google Analytics 4?
See more of the user journey
It can track users across multiple platforms, meaning that if they look at your website and then download the app and make a purchase, GA4 can track that journey. This gives you the tools you need to more accurately track your customers, and gives a better insight into consumer behavior.
‘View user’ snapshot feature
This can include user information such as what device they are using, their location, how they engage with your brand, and whether they made a purchase.
Lifecycle reporting
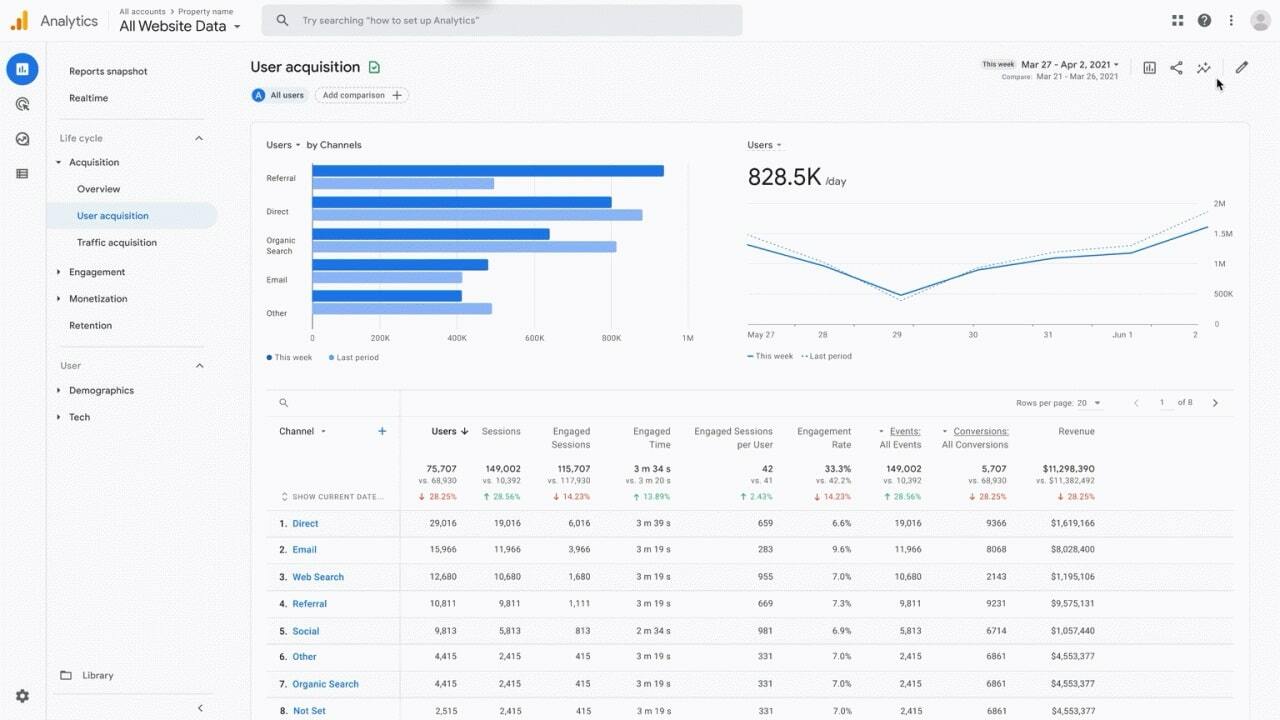
It’s a great tool for analyzing how users enter the conversion funnel and customer behavior once they’re in the funnel.
Lifecycle reporting answers the following questions:
- How do users enter the conversion funnel?
- What is their behavior once they are in the funnel?
- How does this compare to the previous year?
GA4 also includes reports on user demographics, technology, events, and conversions.
Better privacy and tracking features
This new analytics platform is designed to be more flexible and adaptable, especially as we move to a future where cookies will be less commonly used. Privacy is a growing concern for users and regulators, so by using GA4 you are actively taking steps to work with them.
New goals and events set up
To start, GA4 is able to pre-create a number of actions and events without the hassle of manual setup as with GA3. You can include clicks, user behavior, transactions, file downloads to extract PDF pages, and information about the user’s first visit. It may still be difficult to track form submissions and e-commerce goals automatically, but at least now you can set it up much more easily. It is much quicker to do than with GA3.
Starting the switch to Google Analytics 4
Step 1 - Create a GA4 account
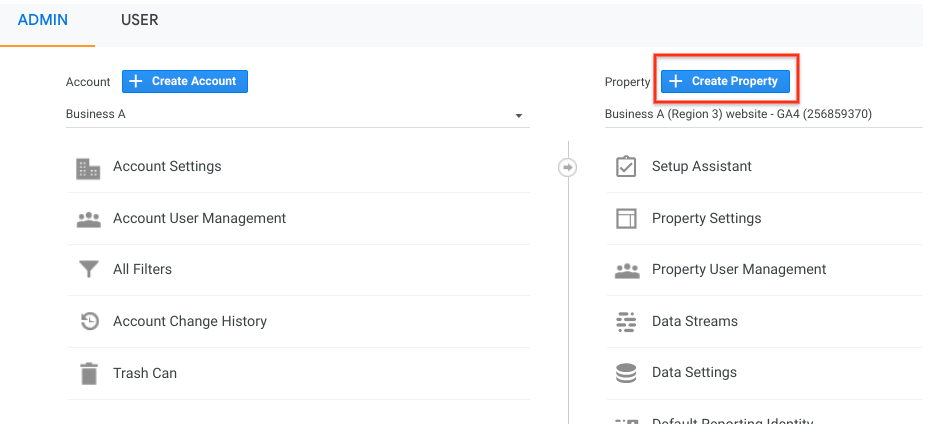
If you are an existing Google Analytics user, go to ‘Admin’ and select the client account. Head to the ‘Property’ subsection and ‘Create Property’. If needed, you may have to request editor access.
Then, enter a name, time zone, and currency. You’ll then be asked to enter an industry category and business size before accepting the terms and conditions.

Step 2 - Add data streams
Below is how you would go about adding a data stream to GA4:
1. Head to ‘Admin’ > ‘Data Streams’ > ‘Property’
2. Click on Web, iOS, or Android and follow the instructions to set up each platform type.
3. Click ‘Create Stream’
4. Repeat any time you want to add additional data streams

Step 3 - Add tags to enable GA4
- For Commonly Used CMS Platforms
1. Click on ‘Admin’ > ‘Property’ > ‘Data Streams’ > ‘Web’
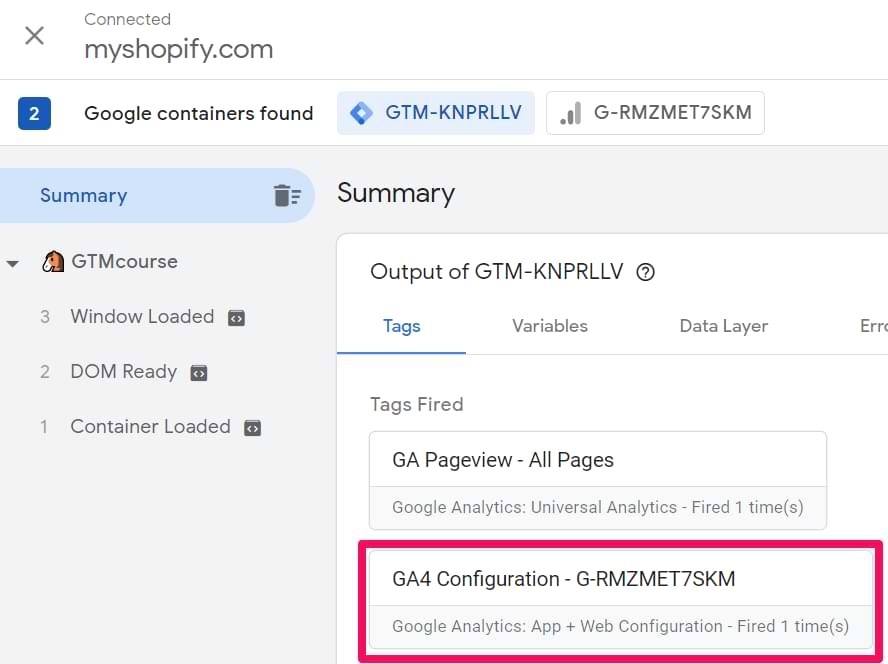
2. There should be a code under “Measurement ID” which is your ‘G’-ID. Copy and paste this code into Google Analytics as your CMS platform instructs.
- For other CMS Platforms
1. Go to ‘Admin’ > ‘Property’ > ‘Data Streams’ > ‘Web’
2. Head to ‘Tagging Instructions’ and look for the ‘Add new on-page’ tag column.
3. Click ‘Global site tag’ (gtag.js).
4. Copy and paste this code into the custom HTML feature of your CMS platform.

Embrace the move to GA4
Speed up your search marketing growth with Serpstat!
Keyword and backlink opportunities, competitors' online strategy, daily rankings and SEO-related issues.
A pack of tools for reducing your time on SEO tasks.
Discover More SEO Tools
Tools for Keywords
Keywords Research Tools – uncover untapped potential in your niche
Serpstat Features
SERP SEO Tool – the ultimate solution for website optimization
Keyword Difficulty Tool
Stay ahead of the competition and dominate your niche with our keywords difficulty tool
Check Page for SEO
On-page SEO checker – identify technical issues, optimize and drive more traffic to your website
Recommended posts
Cases, life hacks, researches, and useful articles
Don’t you have time to follow the news? No worries! Our editor will choose articles that will definitely help you with your work. Join our cozy community :)
By clicking the button, you agree to our privacy policy.

